Elementor Template Injector
Add any element into any other element
Elementor Template Injector
Add any element into any other element
Required: 6.0
Plugin-Version: 1.0.8
FREE – 7,99 €
excl. VAT
/// Features

Widget placement
The Elementor Template Injector widget needs to first be placed into the page or template where your target element is integrated. If you want to implement the source template, into an element that appears on every page, then the best way is to put the Elementor Template Injector widget, into a header or footer element, that also appears on every page.
Editor panel options
Once you placed the widget, you get the elementor edit panel with it's different tabs:
Content tab
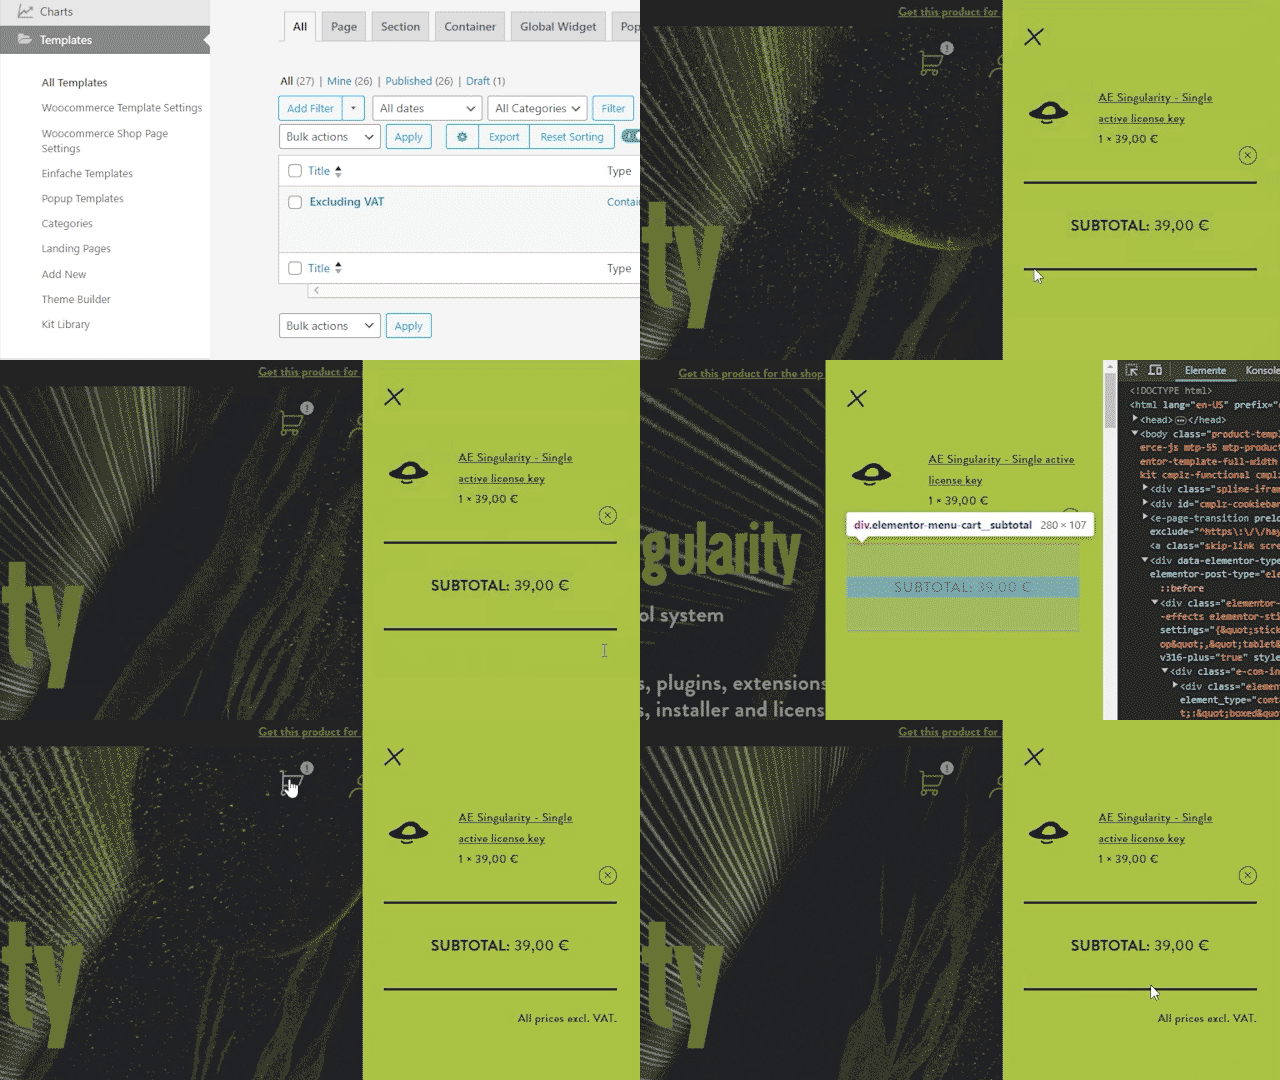
In the content tab you first select the source template: That is the element you want to place at the target selector element. Once this is selected you will see it at the position of the Elementor Template Injector widget. That way you can check if loading the template works. To later only show it in the targeted position, you can enable "Hide Fallback". The second step is to set the target selector. Just use your browsers inspector to find the selector you need and add it to our Target Selector field. And last on the content field there is the option to make sure the injection also works when the target selector is actually on a popup within that page.
Style tab
On the style tab you define the settings of your source template container. Because your template is wrapped into a container and then placed at your target selector. Here you can use most of the container settings you normaly find in the Layout tab of a container widget. Only the Position setting is special, as it defines if the template container should be injected before or after it's targeted element. On top of that we even added options for the parent container of your targeted element. But beware! Enabling and modifying these settings can mess things up. Because you don't know how the parent div is set up CSS wise just from the Elementor editor view. But for those who know what they are doing, this might be a short-cut to better implement your template, compared to otherwise using extra tools like CSS Editors or custom code.

/// Tutorials
Quick Intro
•
1:02min
Complete Walkthrough
•
2:33min
/// FAQ
-
What license types do you offer? Is there a free version?
We have a 7 day trial version which includes the full functionality but expires 7 days after you first activated the license. Our Single active license key version is meant to work on one machine. But you can always release the license lock to that machine by going to the license manager of your shop account https://haywood.tools/my-account/license-manage/ click “LICENSE MANAGE” under the “Actions” column and on the next screen click “DEACTIVATE” in the “Action” column. Now your license is free again to be locked onto another machine. But you can always only use that license on one machine simultaniously.